How to Reduce Image Size Without Losing Quality (2026)
Learn how to reduce image size without losing quality. Compress, resize and convert JPG, PNG and WebP photos for free in your browser, with no upload.
In this article
- Why are some images so large?
- How to reduce image size without losing quality: 4 steps
- The best quality settings for each use
- Lossy vs lossless compression explained
- Which image format is smallest?
- Common mistakes that ruin image quality
- Can I compress images on my phone?
- Why smaller images matter for websites
- How to check quality after compressing
- Compressing many images at once
- Remove hidden data to save extra space
- Conclusion
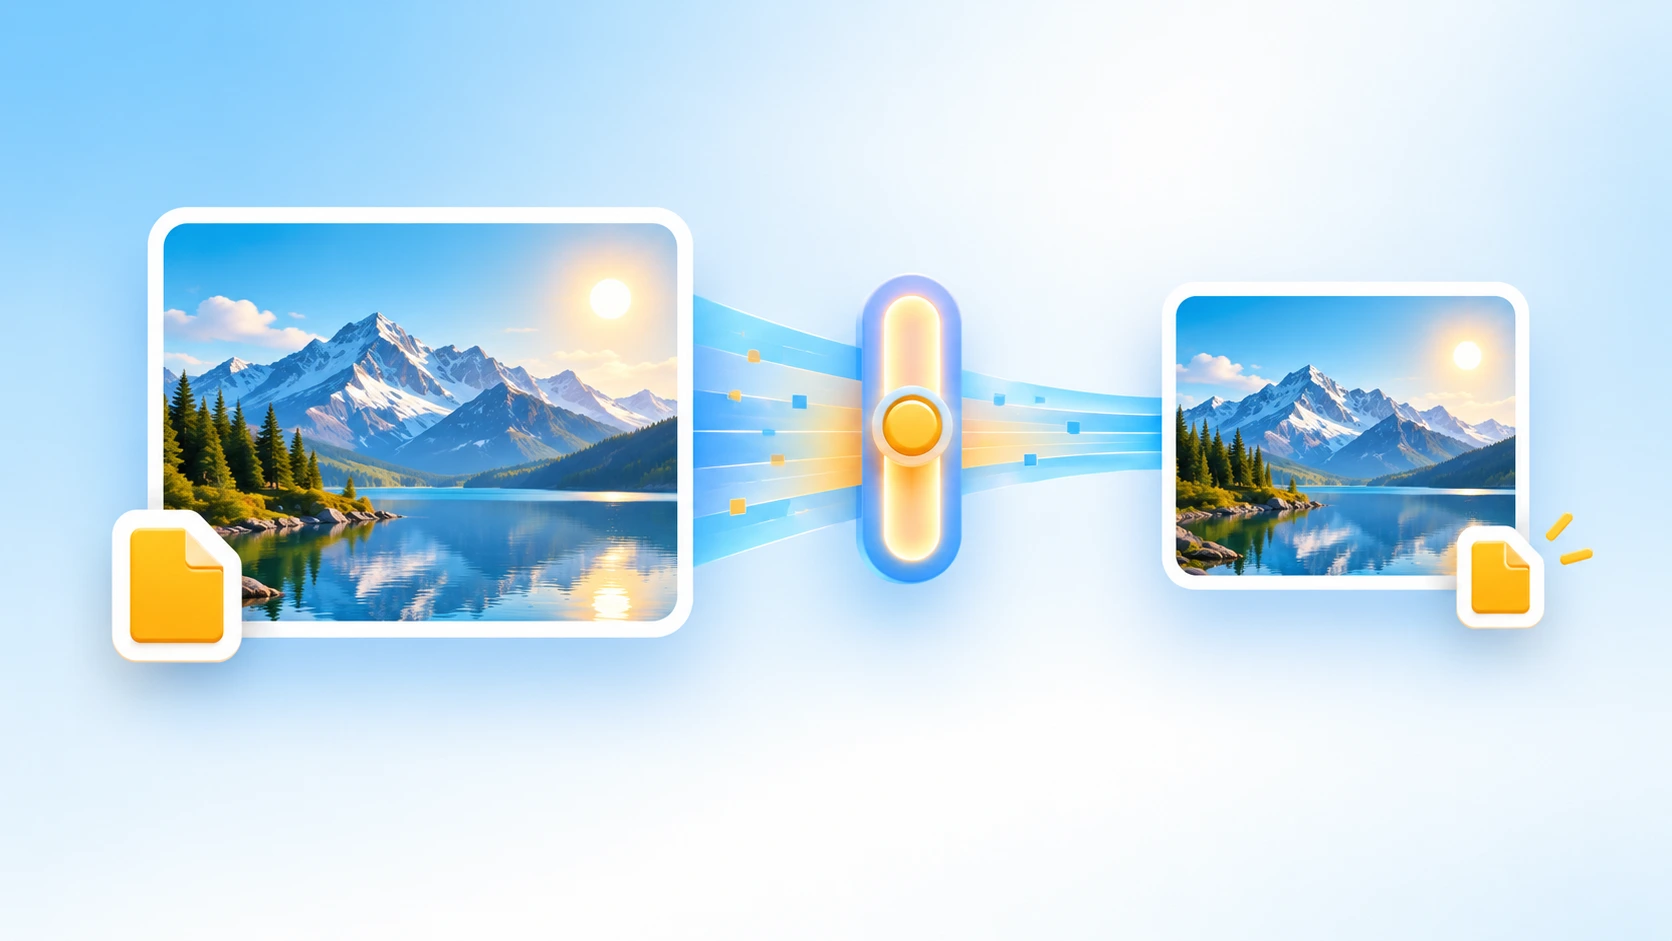
Big images slow down websites, bounce off email limits and eat storage. The fix is easy: you can reduce image size without losing quality by combining three simple steps. Resize to the size you need, compress with a sensible quality setting, and pick the right format.
This guide walks through each step with free browser tools from ToolBubble. Nothing is uploaded, and you don’t need to install any software.
Why are some images so large?
A modern phone camera captures 12 to 48 megapixels. That’s far more than any screen needs. A typical laptop shows about 2 megapixels across the whole display, yet one photo might store 24 times that.
File size depends on three things:
- Dimensions. More pixels mean more data. A 4000 × 3000 photo has 12 million pixels to store.
- Format. PNG stores every pixel exactly, so photos saved as PNG are huge. JPG and WebP use smart compression.
- Quality setting. Cameras save JPGs at very high quality to be safe. That extra quality is invisible on screen.
Fix all three and a 6 MB photo can drop to 200 KB with no difference anyone will notice.
How to reduce image size without losing quality: 4 steps
Follow these steps in order. Resizing first gives the compressor less work and better results.
- Resize to the display size. Open the Resize Image tool and set the width you need. For a blog, 1600 px wide is plenty. Keep the aspect ratio locked so nothing stretches.
- Crop away empty space. If the subject is small, use Crop Image to remove edges you don’t need. Fewer pixels, smaller file.
- Compress the image. Open the image compressor and drag the quality slider to around 80%. The live preview shows the new size as you go.
- Convert the format if needed. Use Convert Image Format to turn photo PNGs into WebP or JPG.
Finally, open the original and the new file side by side at 100% zoom. If you can’t spot a difference, you’ve reduced the size without losing quality.
The best quality settings for each use
The right setting depends on where the image will be used. Here’s a quick reference:
| Use | Width | Quality | Format |
|---|---|---|---|
| Website hero image | 1600–2000 px | 80% | WebP or JPG |
| Blog content image | 1200–1600 px | 75–80% | WebP or JPG |
| Product photo | 1000–1500 px | 85% | WebP or JPG |
| Email attachment | 1200–1600 px | 75% | JPG |
| Thumbnail | 300–600 px | 65–70% | WebP or JPG |
| Logo or screenshot | As needed | Lossless | PNG or WebP |
Notice that photos and graphics need different treatment. Photos have smooth gradients that hide compression. Logos and screenshots have sharp edges and flat colors, where JPG artifacts show up quickly.
Lossy vs lossless compression explained
Lossless compression stores the same pixels more efficiently. The result is identical to the original, but the savings are modest, often 10–30%.
Lossy compression removes detail the human eye barely notices, such as tiny color shifts. Savings of 60–90% are common. At sensible quality levels, the loss is invisible.
So “without losing quality” really means “without losing visible quality.” For photos, a lossy setting around 80% is the sweet spot. For graphics with text, stay lossless or use a high setting.
Which image format is smallest?
Format choice can matter as much as compression. Here’s how the main formats compare:
- WebP is usually 25–35% smaller than JPG at the same visual quality. It supports transparency and works in all modern browsers.
- JPG is the universal choice for photos. Every device and app can open it.
- PNG is lossless and supports transparency. It’s ideal for logos and screenshots, but large for photos.
- AVIF compresses even better than WebP, though some older apps can’t open it yet.
For a deeper technical comparison, see Mozilla’s guide to image file types.
Common mistakes that ruin image quality
Compressing the same file over and over. Each lossy save throws away more detail. Always work from the original.
Upscaling small images. Making a small image bigger adds pixels but no detail. It gets larger and blurrier at the same time.
Saving photos as PNG. A photo saved as PNG can be five times larger than the same photo as JPG, with no visible benefit.
Using JPG for screenshots. Text in a JPG screenshot gets fuzzy halos. Keep screenshots as PNG or lossless WebP.
Ignoring dimensions. Compressing a 6000-pixel photo that displays at 800 pixels wastes bandwidth. Resize first.
Can I compress images on my phone?
Yes. ToolBubble works in any mobile browser, including Safari on iPhone and Chrome on Android. Open the compressor, tap the upload area, and pick photos from your gallery.
If your iPhone saves photos as HEIC, convert them first with the HEIC to JPG converter. JPG files are easier to share and compress.
Why smaller images matter for websites
Images are often the heaviest part of a web page. Large images slow down loading, and slow pages lose visitors. Google also uses page speed signals as part of its ranking systems.
Shrinking images is one of the fastest ways to speed up a site. After optimizing, run your page through the Website Speed Checker to see the difference.
How to check quality after compressing
Don’t judge a compressed image by its thumbnail. Small previews hide almost every flaw. Use this quick checklist instead:
- Open the original and the compressed file at 100% zoom, side by side.
- Look at areas with fine detail, such as hair, leaves, fabric and text.
- Check smooth areas, such as skies and walls, for banding or blotches.
- Look at sharp edges against plain backgrounds for halos or “mosquito noise.”
- View the image on the device your audience will use, such as a phone.
If you spot a problem, raise the quality setting by 5–10% and try again. The size difference between 75% and 85% is often small, while the visual difference can be noticeable on detailed photos.
Compressing many images at once
When you’re preparing a whole gallery or product catalog, consistency matters more than squeezing every last kilobyte. Pick one width and one quality setting for the whole set. That keeps the images looking uniform on the page.
A simple workflow for batches:
- Decide the display width for the set, such as 1200 px for blog images.
- Resize each image to that width with the aspect ratio locked.
- Compress each one at the same quality setting.
- Name files clearly, for example
red-running-shoe-side.webp. Descriptive names help image search too.
Keep the untouched originals in a separate folder. If you ever need a larger version, you can export again from the source without stacking quality loss.
Remove hidden data to save extra space
Photos from cameras and phones carry EXIF metadata. That includes the camera model, date and sometimes your GPS location. It adds a little weight and can reveal more than you intend.
The EXIF Metadata Remover strips this data in your browser. The image looks the same, the file gets slightly smaller, and your location stays private.
Conclusion
To reduce image size without losing quality, resize to the size you need, compress at about 80% quality, and choose WebP or JPG for photos. Check the result at 100% zoom, and always keep your original.
Try it now with ToolBubble’s free image compressor. It’s fast, private and works on any device.
Frequently asked questions
What is the best quality setting for compressing images?
For most photos, 75–85% quality gives the biggest savings with no difference you can see. Go to 90% for photos with fine detail or text, and 60–70% for small thumbnails.
Does resizing an image reduce file size?
Yes, a lot. File size grows with the number of pixels, so halving the width and height cuts the pixel count by 75%. Resizing is often the biggest single saving.
Is PNG or JPG smaller?
For photos, JPG is usually 3–10 times smaller than PNG. PNG is better for logos, screenshots and images that need transparency.
Are my photos uploaded when I compress them on ToolBubble?
No. ToolBubble compresses, resizes and converts images in your browser, so the files stay on your device.
- #image compression
- #reduce image size
- #jpg
- #png
- #webp
Written by
ToolBubble Team
The team behind ToolBubble, a free collection of browser-based tools for files, media and everyday work.
Can’t find the tool you need?
Tell us what you’re trying to do. Many ToolBubble tools started as a request from someone like you.